Several years ago, I created an Excel workbook and I “Protected” a worksheet, but, I forgot the passcode the next day. Try and try, I couldn’t remember the password. Therefore, I could never update the worksheet. It was really upsetting.

But never fear, there is a fix if you forget your worksheet protection passcode so that you can unprotect the worksheet or workbook. In this tutorial, I will show you how to do this. It isn’t too hard, but it will take a few steps and you may want to download some free software to help make it easier. Also, there is a sample protected file below so that you can download and practice.
The Breakdown
1) Unhide File Extensions
2) Change Excel File Extension from .xlsx to .zip
3) Extract All from Zip File
4) Edit XML
5) Re-Zip File
6) Change Zip File Extension from .zip to .xlsx
Step-by-Step
1) Unhide File Extensions
First things first, we need to open up File Explorer so that we can rename your Excel file. File Explorer is where you see all your files listed on your computer.
If you haven’t already, you will want to unhide file extensions. To do this, in File Explorer, open the View ribbon and then click on Options or Folder Options.
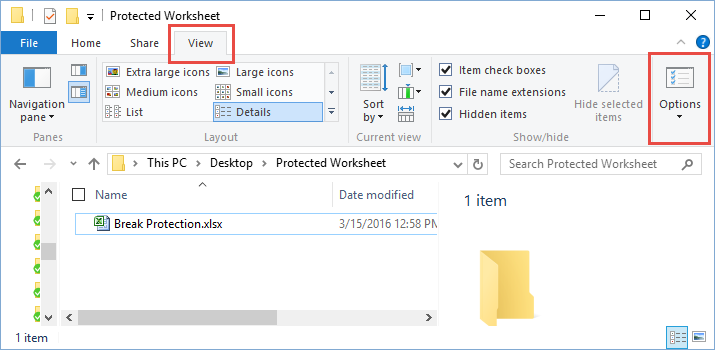
Then from the Folder Options dialog box, click on the View tab and then find and Uncheck the “Hide extensions for known file types”.

2) Change Excel File Extension from .xlsx to .zip
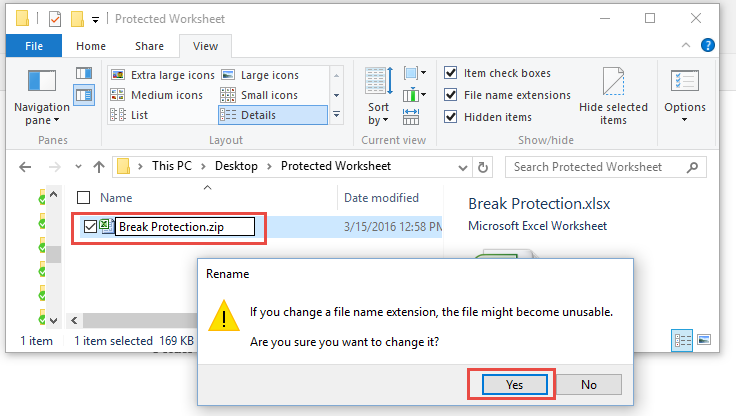
Now you may not know this, but Excel files are made up of a whole bunch of files. They are all zipped up in a compressed zip file. So if we change the file extension from .xlsx to .zip, we can see all these files that make up the Excel file. From File Explorer, you should now see the extensions on the file name and you will want to rename the file from .xlsx to .zip. You will see a warning pop-up asking if you really want to do this, but click on yes to make the change take effect.
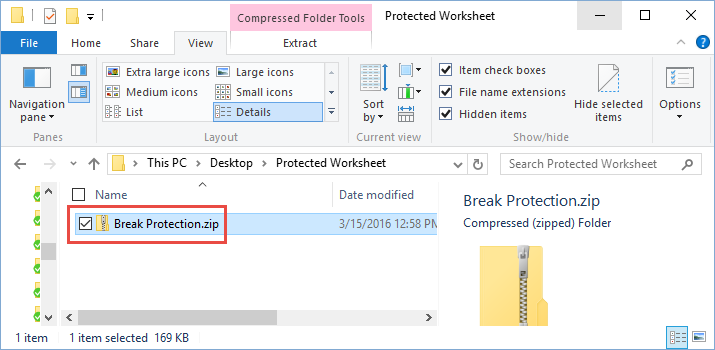
Your new file will now look like this in the File Explorer window with a different icon.
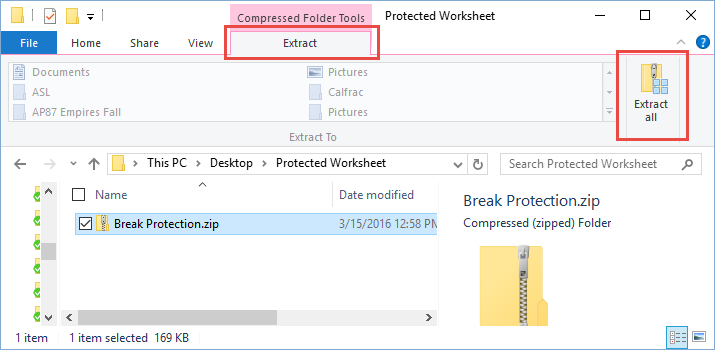
3) Extract All from Zip File
In order to edit the files, you will need to Extract the .zip file into all of its base files.
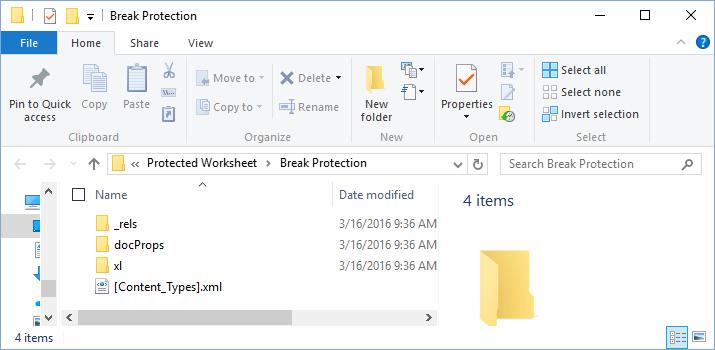
If you open the uncompressed zip file, your files will now look like this:
4) Edit XML
In order to do this step, I recommend that you download an XML editor. XML is basically text, but it can be easier to use the editor to quickly modify the file. I recommend XML Toolbar as you see in the video below. Some people also use Notepad++ as well.
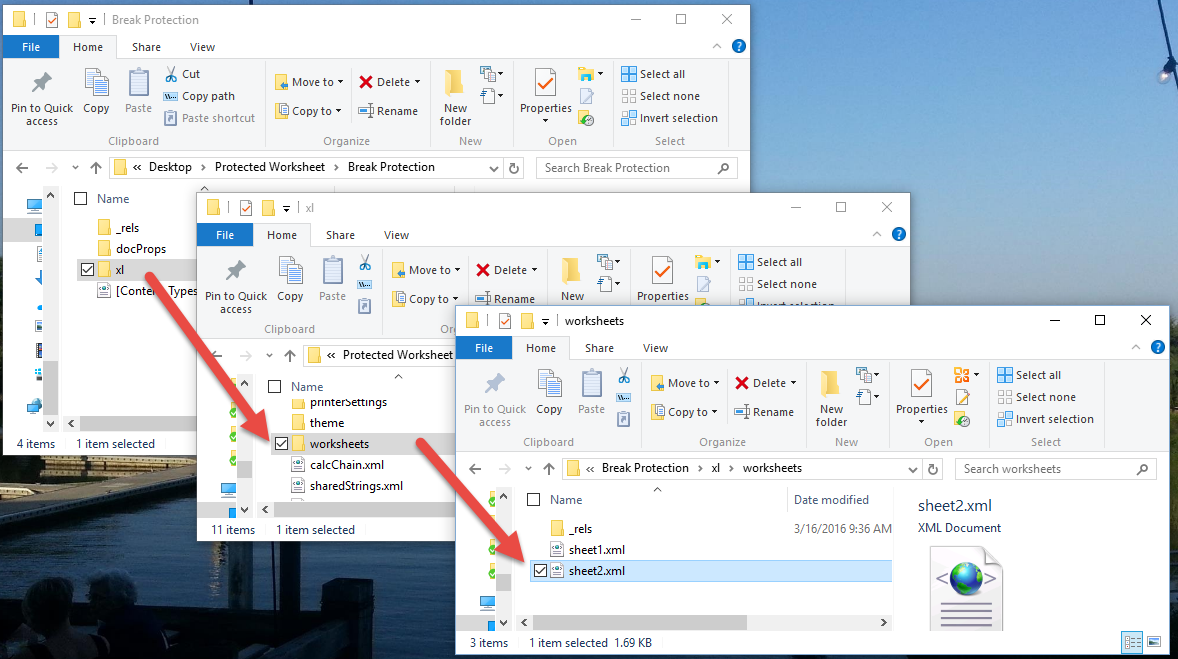
Once you have an XML editor open, you will need to navigate to the sheet with the protection and open that file. The worksheet files are located in the “xl” folder.
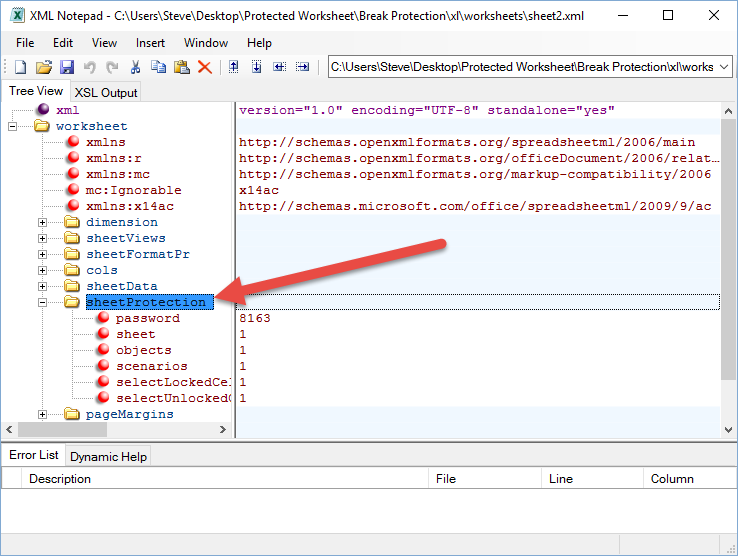
Now you will need to find the Sheet Protection under Worksheets. Select it and press the delete key. If you do this in another application, you will need to make sure you select the entire section.
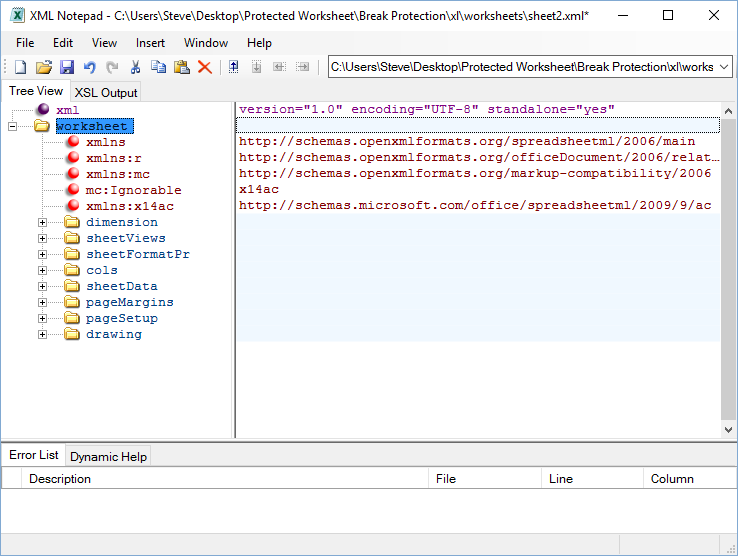
Your new XML file will now look like this and you can exit and save the file.
5) Re-Zip File
We will now need to re-zip the files into a new compressed .zip file. To do this, you will need to go to the root of the uncompressed files and highlight all the files. Then right click and go to the Share ribbon and click on ZIP button or right click on the selected files and click on Send To>Compressed (zip) Folder

Give the new zip file a good name and your Compressed ZIP file will now look like this:
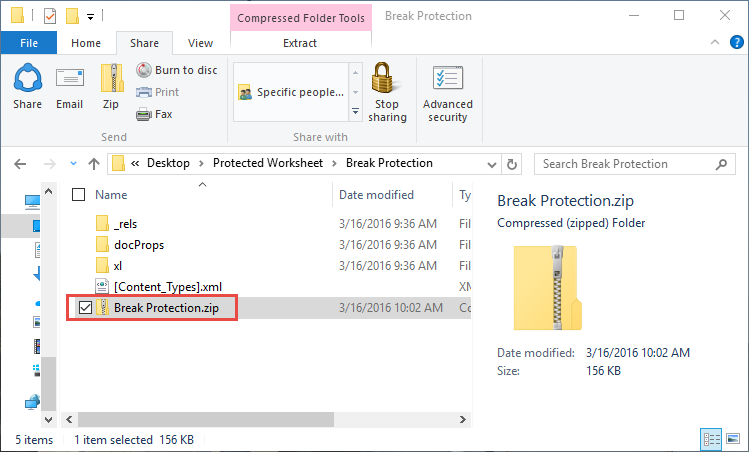
6) Change Zip File Extension from .zip to .xlsx
The final step is to reverse step 2 and change the new ZIP file extension back to an Excel extension of .xlsx
From File Explorer rename the file from .xlsx to .zip. You will see a warning pop-up asking if you really want to do this, but click on yes to make the change take effect.
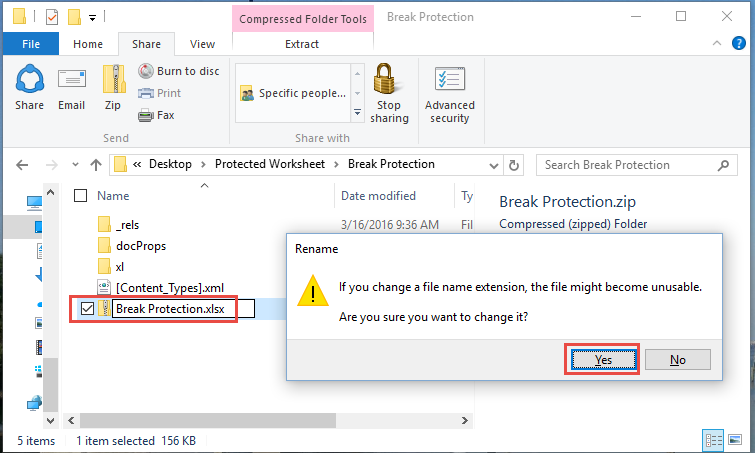
Your file will now show an extension of .xlsx and when you open it, the hidden worksheet will no longer be protected. Try it out with the sample file below.
![]()
Video Tutorial
Sample protected file
Unhide the Sheet “Pics” and remove the protection using the above tutorial:
Break-Protection-Sample.xlsx File
If you found this helpful, please let me know if this helped you in the comments below. Thank you.
Steve=True


